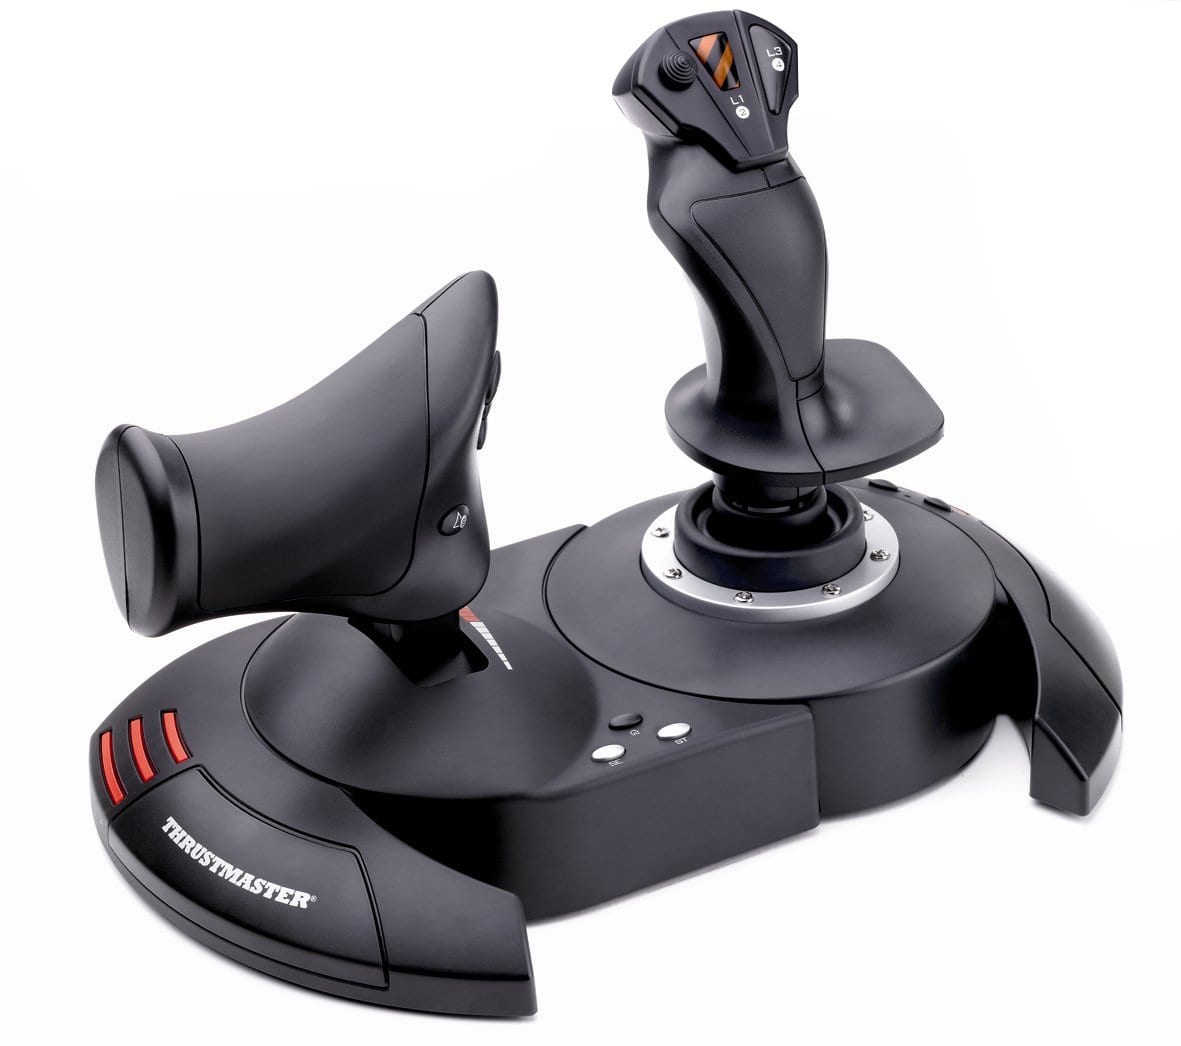
For my modelling I chose to do the right side of the Thrustmaster T-Flight Hotas X. I chose this as it would provide a challenge to model the complex shape of the stick itself as well as the small details required in the texture
Here is the video showing my modelling process
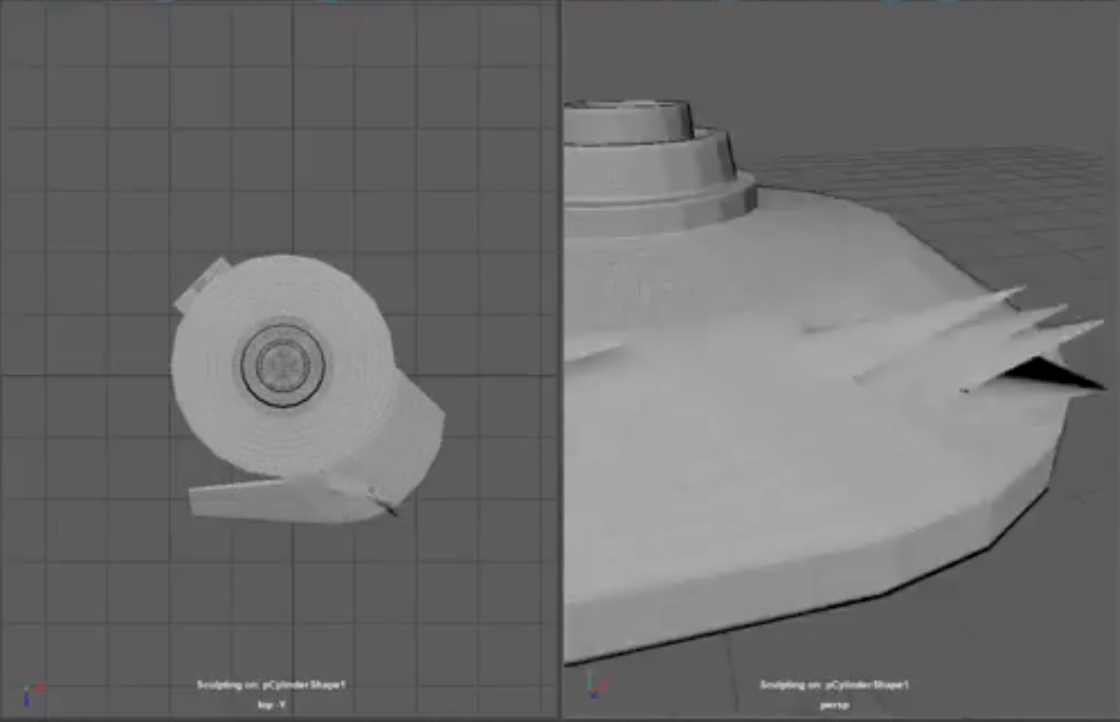
During the duration of the video, I realised very quickly how many ways there is to design this model. I attempted to design it all in one go Extruding from my original base onwards. While worked for the basic poly model, the smoothed version started having clipping problems as I began to bevel the edges to smooth them out.
I continued on and attempted to use the sculpting tools to create the indents into my model as seen on the base. After watching some tutorials briefly to try and get it to work, I found that my model was not high poly enough and when subdivided reacted poorly to the inverted lift tool. This left my mesh in an unusable state so I backtracked and attempted to continue with my original method.
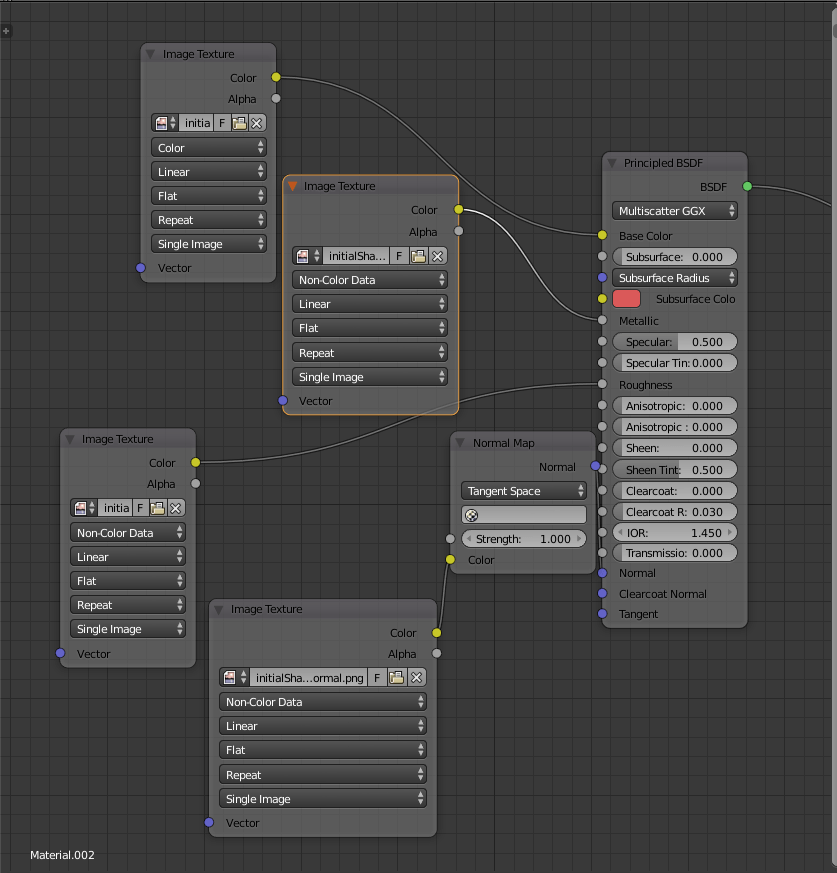
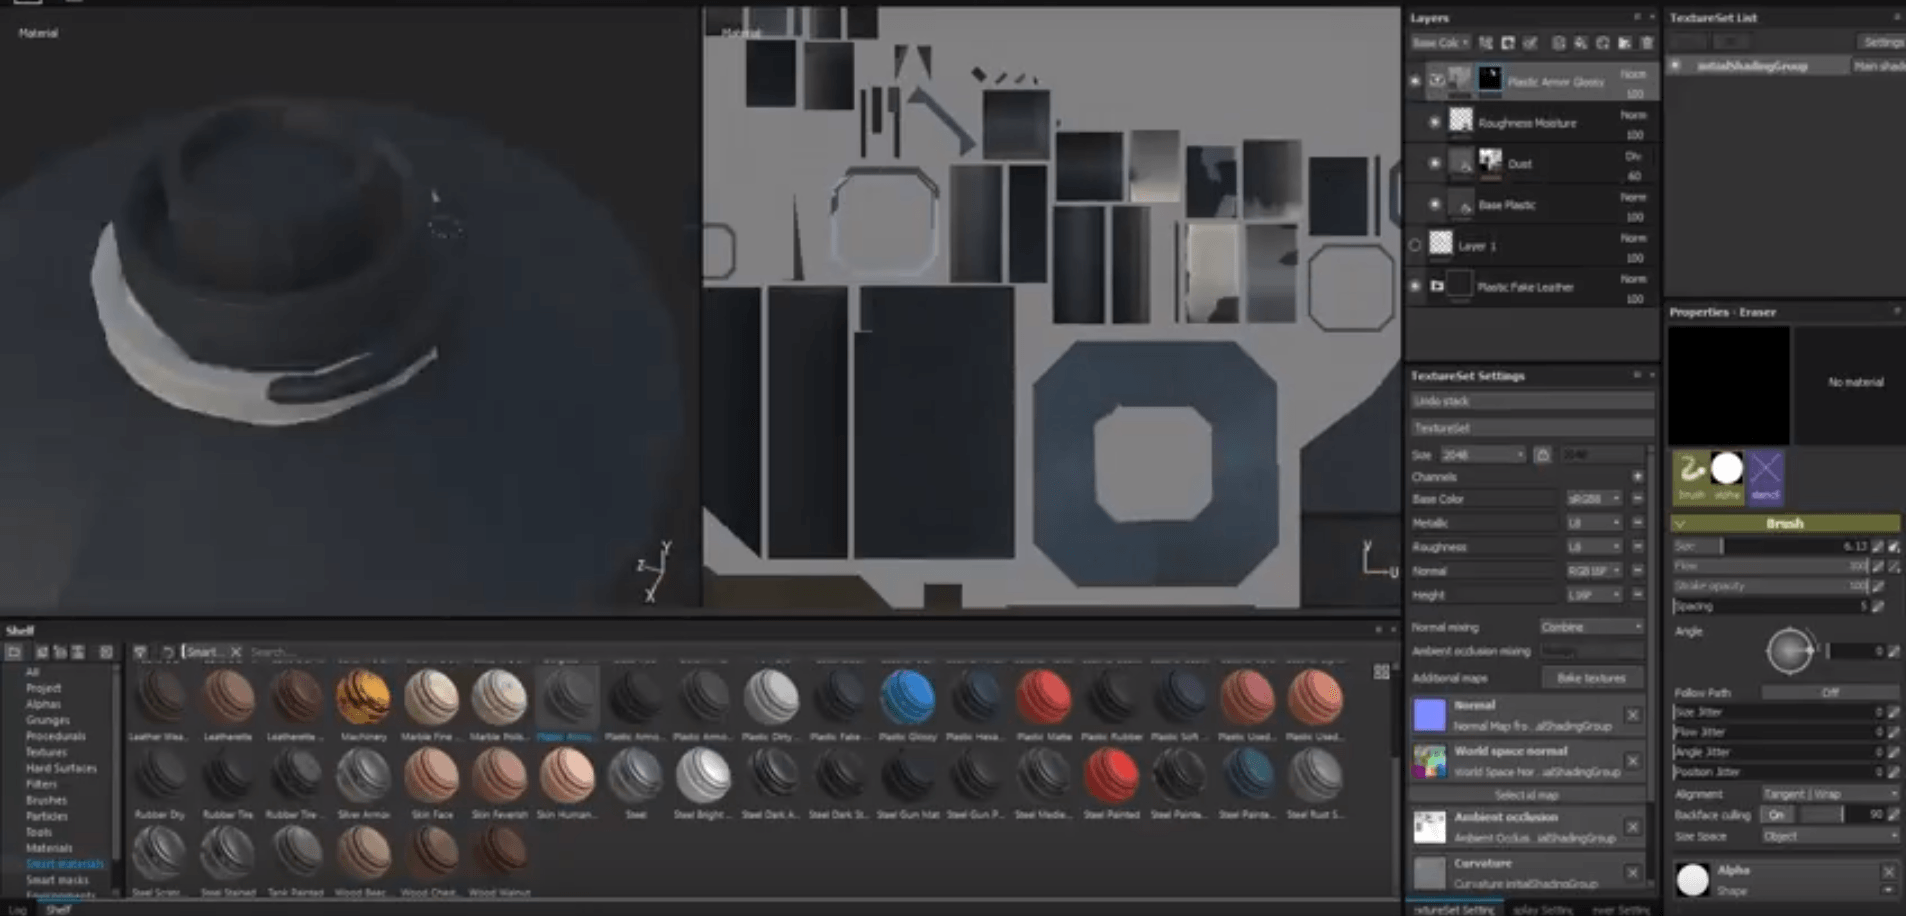
After finishing the base, I wanted to see how it would texture, so I performed a quick UV unwrap and exported it as a .obj for Substance Painter. During my time in substance, i began to have trouble with the texturing process and the use of masks. I will need to watch some tutorials as a refresher to understand where I was going wrong
I continued on with the models and quickly learned how awkward the stick was to model. As the grip is designed to be held comfortably so is shaped like the inside of a hand that was extremely difficult to replicate with Maya.
When reaching the top of the stick the sudden transition from smooth the straight edge became extremely confusing for myself to get right in the smoothed view. So I decided to rethink my plan to model this
Reflection
To build this model I need to rethink my approach to building it. Building it all as one solid object means the smoothed view does not look natural and attempting bevels on surfaces that change begins to create clipping issues meaning an overall tougher job.
It has been a while since I used Substance Painter and I’m in need of a quick refresher to get myself up to speed, I should also look into how I can affect the normal’s to create the seamed areas of the flight stick without modelling them to save on clipping errors.
Sculpting in Maya is completely new to me. And something that I would like the research in the future and it potential uses. Otherwise for this project i don’t think it will be necessary to get the final product I want.
To Do
-Attempt to model the flight stick in individual sections and combine them together when finished.
– look into more tutorials on hard surface modelling to potentially pick up some tips
-Watch some tutorials on Substance painter to get back to grips with
-Research how to affect normal maps within substance painter.