After my previous attempt at the model. I took into consideration starting again and designing the model in chunks. This allowed me to bevel edges at will and overall have a much more smooth design on the model.
This also meant that and slight errors I made did not affect other areas of the model allowing me to slowly build up.
Everything up to the grip and the flight stick went well, as once again the smooth design became difficult to match as well as the slight angle changes.
Instead of following through with using a cylinder for the stick I decided to build off a cube and utilize the fewer edges and faces to help me understand where I need to add extra edges to get the shape I needed. This ended up working better than I expected, as I had much more control over the shape in the smoothed for as well as being able to pull and drag out at odd angles my quickly making more cuts with the multi-cut tool.
I decided to separate the flat part of the grip and attempt to crash them together. I soon released this wouldn’t work as the differences in edges made the clash stand out. So I used subdivisions to match the number of edges and connected them together although it was a lot of work to mesh them together the final output eventually looked accurate with a slight bit of tweaking.
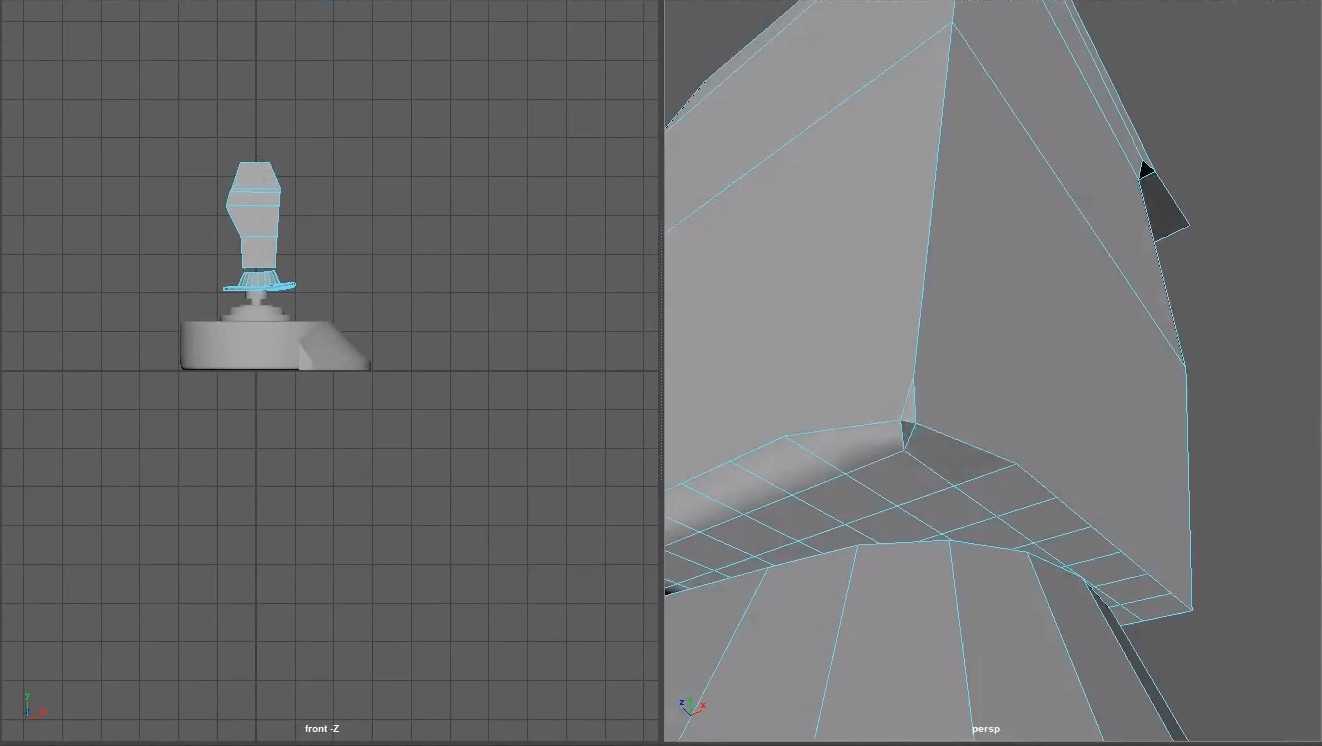
The button layout I could just put against the stick at that how it is designed on the actual model so was simple to design but provided a key point to help fix the angle of my stick and the way it looked to match the real thing more.
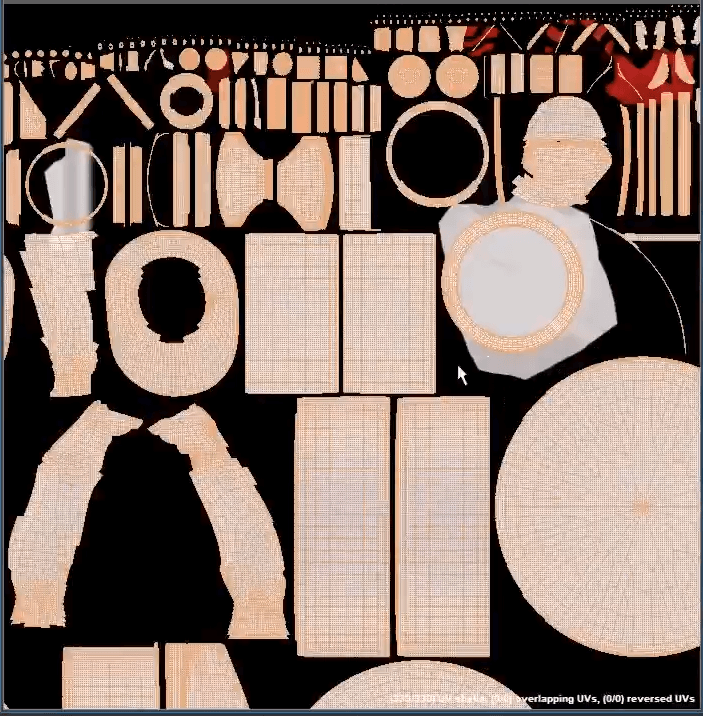
My original UV unwrap went wrong as I forgot to combine the meshes a simple mistake that was a good for learning.
My second UV unwrap was slightly stretched but I decided to look past it for the time being
While in substance painter I began to look into ways to paint the seams in the model. At first, I looked into how to paint onto the normal map but I couldn’t get it to work. But while playing about with settings I saw that I was able to adjust the height of a brush. So after a bit of testing with masks, I found it gave the exact effect I wanted and proceeded to repeat this across the model. Utilizing masks and different smart materials I got the exact look I wanted. and moved it back to Maya.
As I would be using the Arnold render in Maya I checked first to make sure I was exporting my textures right.
I used this video until I learned that Arnold had been updated to version 5 and no longer worked the same way, so instead, i followed the table on (https://support.allegorithmic.com/documentation/display/integrations/Arnold+5+for+Maya) this allowed me to know exactly which textures I needed to export.
This is where I realised i hadn’t applied the smoothed view to my model. this meant I had to repeat the whole process again, however, in this process I fixed my UV’s to be almost perfect with a little stretching.
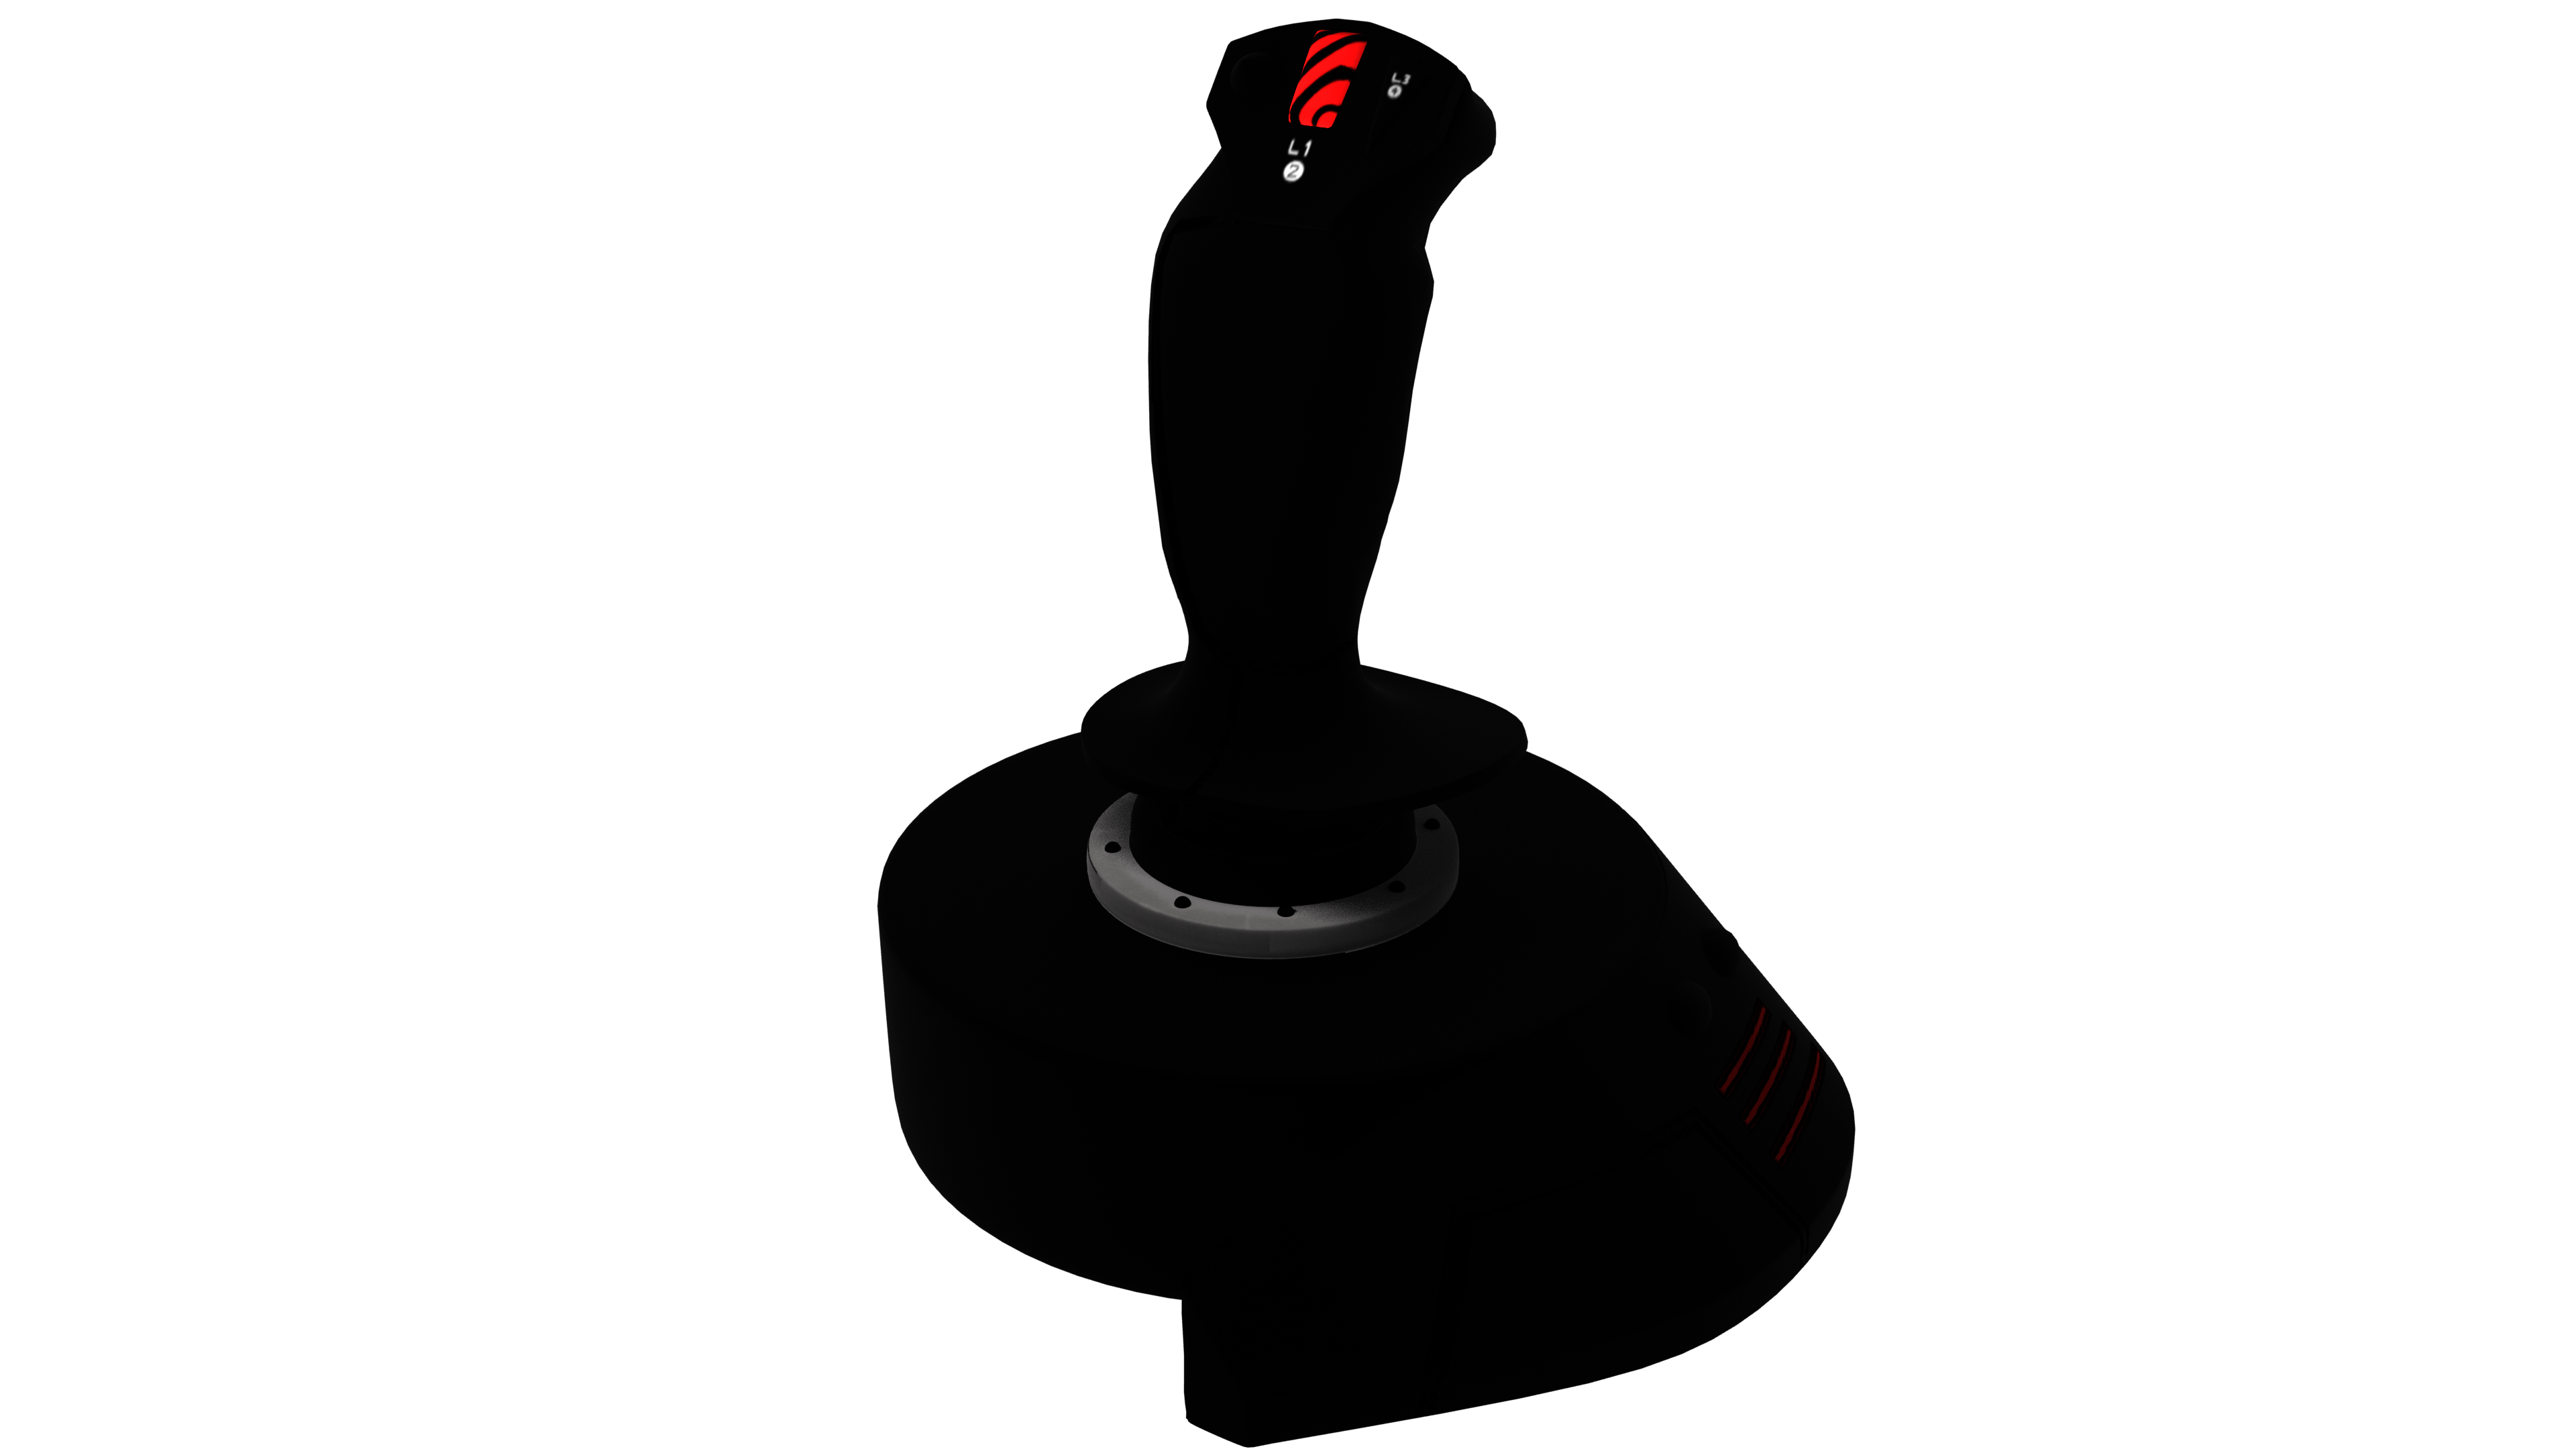
Finally, it was finished and here is the final result.
I was unable to export the model with textures. Something which I was unable to resolve
The one problem i’m having is with Arnold render’s lighting system. It is incredibly dark without a world light and in turn, destroys any shadows with a world light. This is forcing me to change my final plan idea and just show the model and the render. Instead of merging it into a still image.
Leave a comment